A few days ago, I was trying to share a text shot (screenshot of text) from a blog post to Twitter. I used the app, Linky, since that’s what I see others using. But for whatever reason, when it was generating the text shot, the title, and URL was coming from the source article that this one was quoting itself. Not the article that I actually wanted to share.
I searched inside the app, trying to find some way to override the data in the text shot, but there was nothing. I toyed with the idea of messing around with Shortcuts, or just manually copying text into Pixelmator and making one by hand. But eventually, I decided that I should probably just make an app myself. That way I can control exactly what it does, and at the same time, start doing some app development again. Since I’m not working on mobile apps at my day job any more, and I don’t exactly want to fall behind.
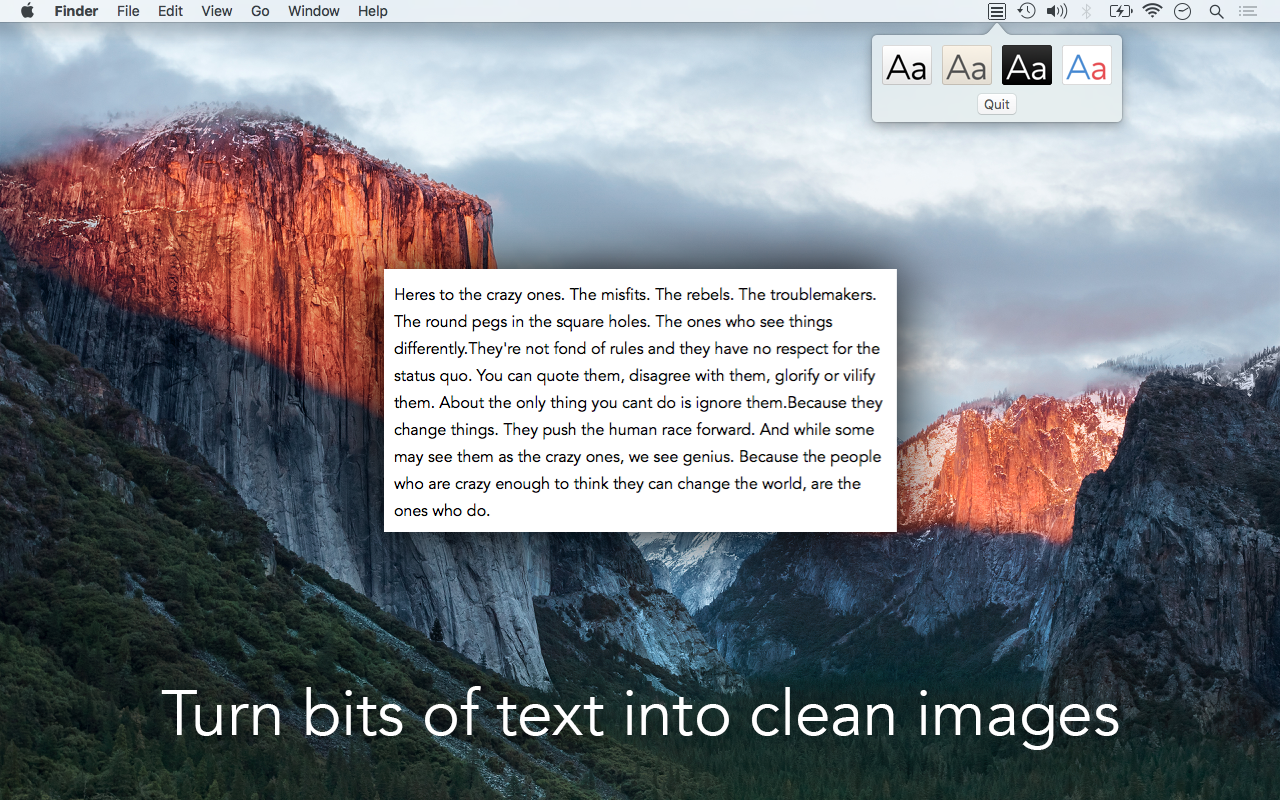
That’s where an old idea came back to me. “Text Shot” is an app that I was working on in 2015. Except back then it was going to be a menu bar app for Mac, that allowed you to format the text in your clipboard into one of four styles: light, dark, sepia, or source formatting. It never actually made it to the Mac App Store, but it was close. I had some marketing screenshots ready, and a quickly designed app icon.
I'll be using the same name for this app, but this time it will be (at least to start off with) an iOS app. I've already got a decent sized list of features that I want it to have in the future. But to start off with, I'm just working on building an app that can generate good-looking text shots, and then I'll take it from there.
The only content in a text shot will be three things: the main quoted text, and the title and url of the source article. And the theming will also be relatively minimal, with just a font style and colour scheme to choose from.
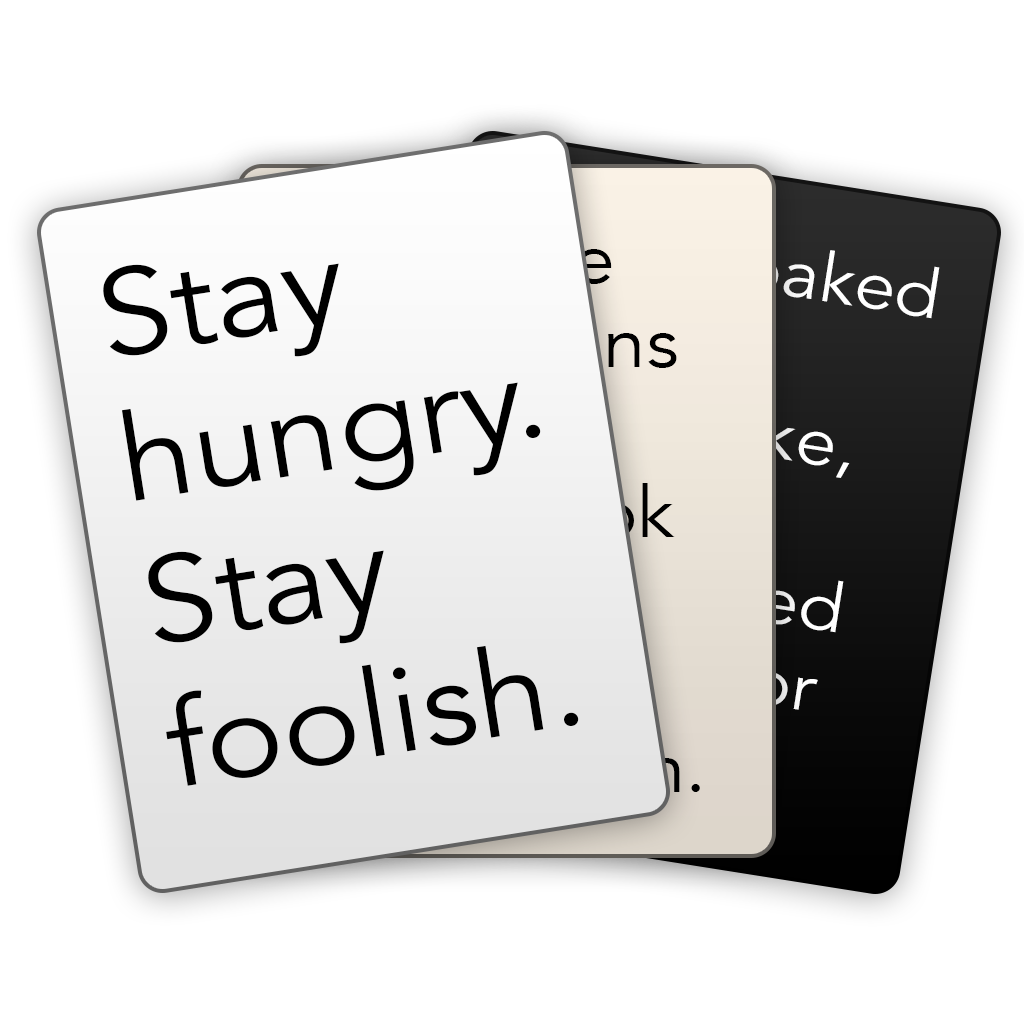
As for font styles, Text Shot will support: sans-serif, serif, monospaced, and rounded. And for the colour schemes, this will be just light, dark, and sepia.
It's only been a few days, but right now, I have a basic app with all the necessary input fields, a preview, and also a (working) export button.

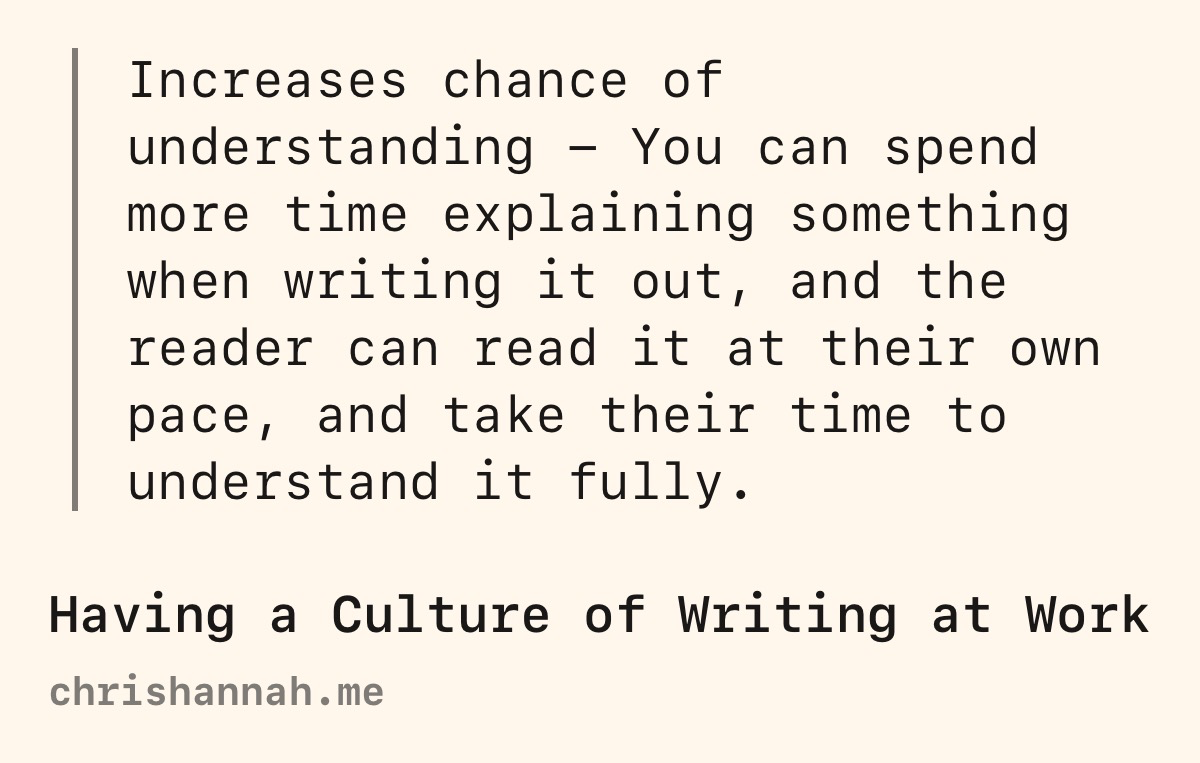
The image generation is working already, and I think they already look pretty good. But it will need a lot more refinement, so it can support all kinds of text. Be it multiple paragraphs, code, lists, etc.
This app will hopefully be my first official app using Swift UI. I've thought about using Swift UI for other projects, including a new version of Text Case, but it always felt more of a chore. This time, I've decided to make the effort to really learn Swift UI, and I think the relative simplicity of the apps' functionality will make it a bit easier for me.
There are a few other tools that I've been experimenting as part of this project, and I'll go into more detail on them in a future update. But the ones I'm finding most interesting at the moment are XcodeGen, SwiftGen, SwiftFormat, and SwiftLint.
Now I need to get back working on the app. Hopefully, I'll have another progress update on Text Shot soon.
Bulba has reached 0.1.0, and with it comes new search functionality on the archive page, and improvements to the generated feeds.
Search
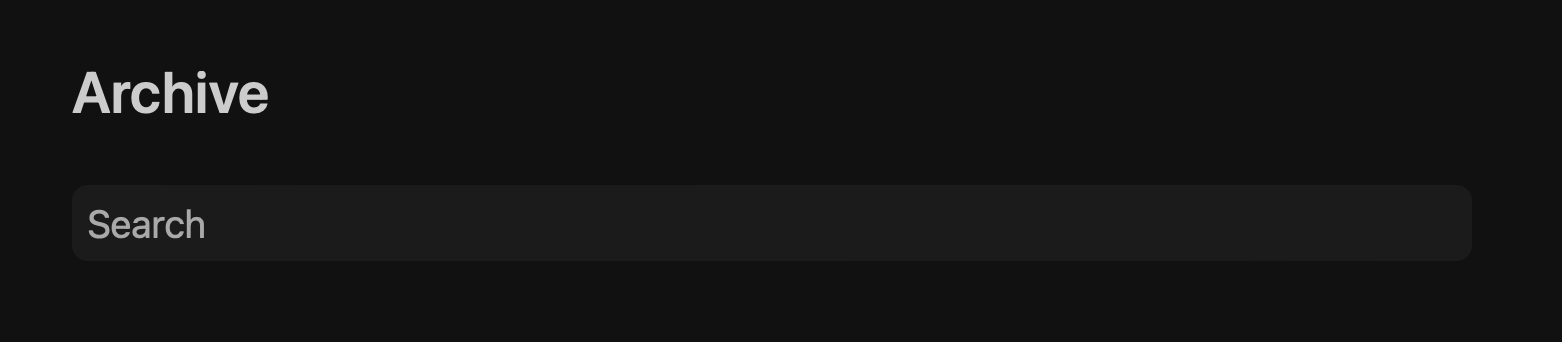
Even though Bulba blogs are completely static, searching is still possible. And now there is search functionality on the archive page.
It works by filtering through the posts on the page, and because every blog post is included in the archive, the code can be rather simple.
The post list will automatically update as you type in the search bar, so no reloads are needed, or any external web requests at all.
To get an idea of how fast it is, check out the video:
However, for people that really don't like JavaScript, this feature can be enabled/disabled using the config property enableSearchOnArchivePage.
Feed Improvements
As for the feeds, previously Bulba would generate only a JSON Feed, but with this update, an RSS2 feed will also be generated and can be found at feed.xml.
Both feeds can now be configured to show a custom number of posts. This can be changed using the config property numberOfPostsInFeed, and defaults to 10.
I've gone through a few changes to my development setup, and also tweaked a few things on how I work on Bulba, so I thought I'd write about what developing Bulba is like.
Writing Code
When it comes to writing code, there's not many tools that I actually need. I use VS Code for my code editor (and built-in terminal), Todoist to track what features, and a browser to do all the admin work.
As for the tools I use in the terminal, I only require node and git, although I have oh-my-zsh as well for my own sanity.
This simplicity is what has allowed me to pretty easily configure a new development environment. As I'm now playing around with Pop!_OS (I'll probably go into more detail in the future), and it didn't take much time or effort to get things set up.
Tracking Features
When I'm working on Bulba, I'm typically working on one or two features at a time, depending on any dependencies or relations. But for the most part, every feature starts as a single task in Todoist, where I track the progress of each task using a very simple kanban board.
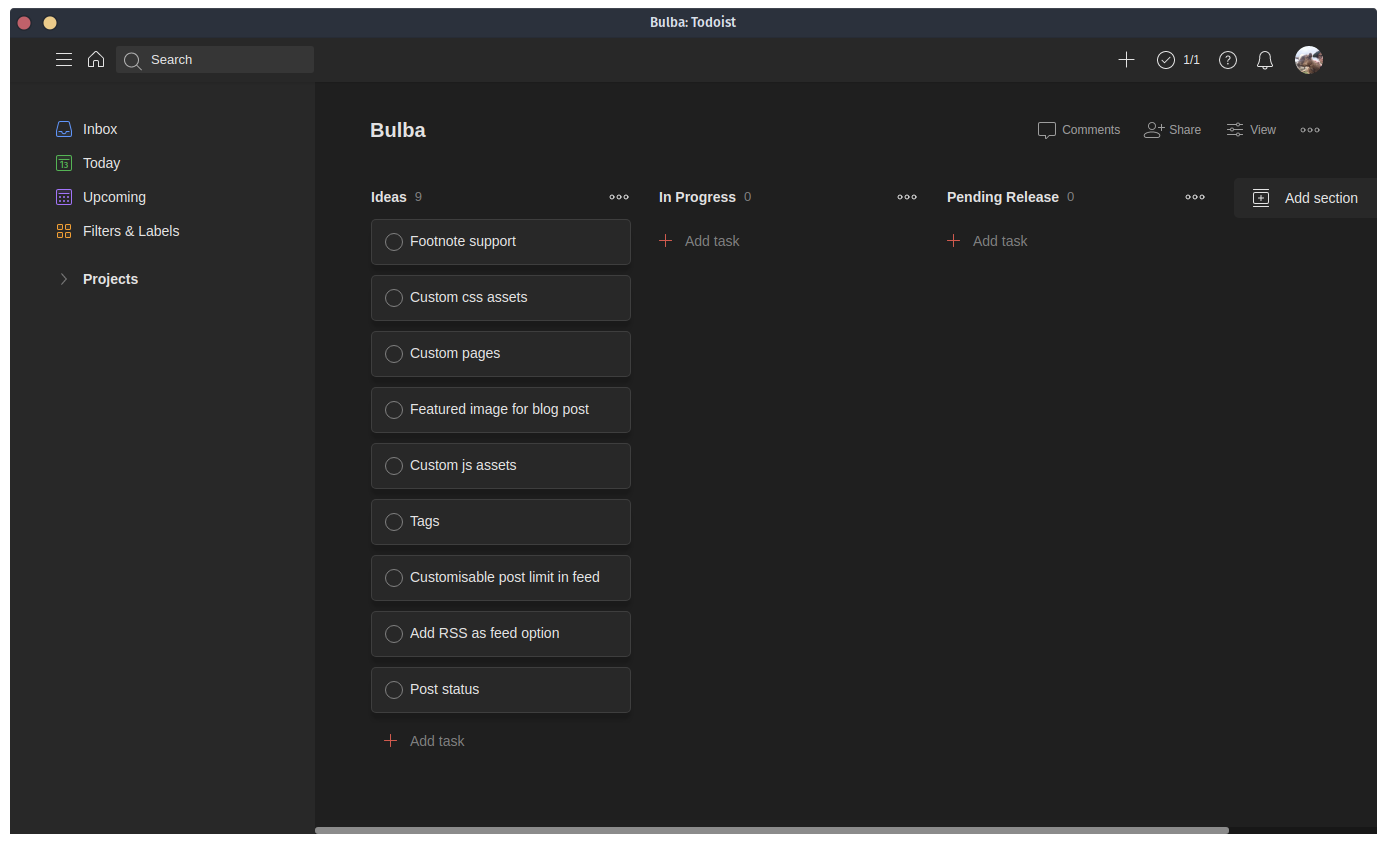
It has three columns: Ideas, In Progress, and Pending Release, which I guess are pretty explanatory. I went with a simple process, as I really don't need anything complex for how I work on this project. There are ideas that I may want to work on, the things that I am working on, and stuff that I've finished working on, but haven't released yet.
You could say that the Pending Release stage isn't totally neccesary, and I would agree. But I'm a very forgetful person, so I find it super helpful to keep track of the features that will be included in the next release. It makes it very easy to write the release notes.
Releasing Bulba
The way releases are handled for Bulba has slowly changed as I've progressed on Bulba, and I think I've found a pretty good spot between automating tasks and also having a manual process to write release notes and have a tiny bit of control.
For a few releases, I was doing it via the npm publish command from my local machine, but I also wanted to use Git tags to mark the versions, and then also create an associated release on GitHub with some notes. This got annoying after a while, and I ended up automating a small part of it, that now makes the flow much better.
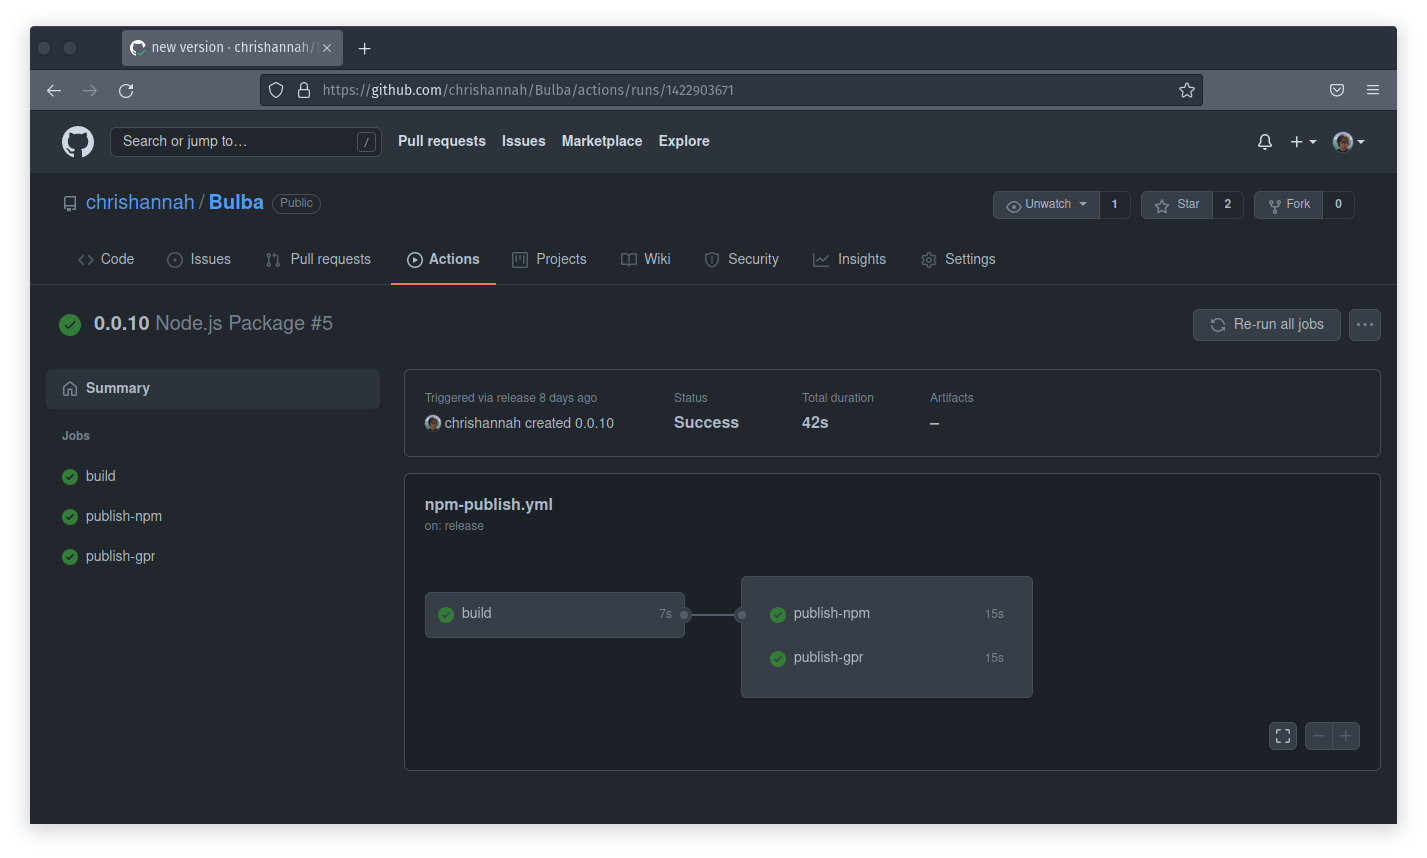
So now, thanks to GitHub Actions, whenever I create a new release on GitHub, it will run a short script and publish Bulba to both npm and GitHub's package thing (I'm honestly too lazy to work out what this is, but it didn't require any work to also publish there).
So my entire release process is this:
- Update version in
package.json
- Tag latest commit with version
- Create release from tag on GitHub and add some notes
- Bulba is automatically published
There's a possibility that I'll look into automating the version updating, but it's not exactly a cumbersome task to do manually.
Deploying Bulba
As you may have seen in the Readme, the way I personally deploy a Bulba blog (this blog) is by having a git repository for my blog content. And then on a Digital Ocean server, I pull the latest changes, run Bulba, and then I have a short script to move the outputted files to the correct place.
This is fine. But it's not as easy as it could be. And while I haven't looked into it that much, Digital Ocean has some very interesting support for static websites (Guide), where you can host your static content in a GitHub repository, and have your website automatically be deployed after changes.
I'm not sure if that's what I will use myself, as I've got a few more things on the server where I host this blog, but I definitely think this could work as the "recommended" solution. So watch out for more information on that.
After a small gap, I've been working on Bulba a bit more. I've made a few releases over the past 24 hours, each of them fairly minor, but since it's now at 0.0.10 I thought I'd write a quick overview here.
The first change was a fix for the padding on pre tags, which became more apparent since adding the code highlighting. The other two changes were to add a customisable accent colour, and also add support for images in blog posts.
Accent Colour
There's now a new option in the config.yaml file where you can specify a custom accent colour, which will be used to style elements such as links, headers, blockquotes, etc.
The new field is site.accentColour, and works with hex, HTML, and RGB formatted colours. The default value is red.
This colour is also used for the theme-color attribute which some browsers use to customise the appearance of the window.
Blog Post Images
Technically it's always been possible to add images to a blog post using Bulba, but now there's support for adding local images files and referencing them in blog posts.
Now, any files placed in the content/images/ directory of your blog, will be exported alongside your website assets under assets/images/ with the original structure.
For example, an image named screenshot.png with the following path:
blog/content/images/2021/01/01/screenshot.png
will be copied to the following location, relative to the output directory:
/assets/images/2021/01/01/screenshot.png
The latter is the path required to reference an image in a blog post.
As a side note, Bulba is starting to feel like a "working" product. Just a few more tweaks and I think I'll be happy to bump it to 0.1.0.
After some more content enhancements, I want to focus on the experience of generating and deploying a site. Because I want to make it a solution for more than just people that know how to build websites.
Bulba version 0.0.7 has just been released, which comes with one small fix, and two new features.
First off, the fix is to the date that appears on the index pages. They were notbub being accessed properly, and therefore resorted to the current date.
As for the features, Bulba now has support for header code injection, and code highlighting.
There are various use cases for injecting custom code into the header of your site, the main one being analytics snippets, or custom meta tags.
The way this works in Bulba is by creating a header.html file at the root of your blog. The content of this file will then be placed between the <head> tags on every page.
Code highlighting
Bulba now has the option to use highlight.js for code highlighting. Thhis can be enabled/disabled in the config file, by setting enableCodeHighlighting to true or false. If disabled, highlight.js will not be used or linked from your pages.
The styles used are atom-one-dark and atom-one-light depending on the system appearance.
Find Bulba on GitHub and NPM.
For those that have been wondering how to get started with a Bulba blog, I have (hopefully) made it a bit easier to get to grips. As there is now a reasonably detailed Getting started guide in the Readme.
It goes over how you install Bulba, using the bulba init command to create a blank outline, all the way up to generating the static site.
At the moment, because Bulba is literally a site generator, it plays no part in the deployment of the website. However, I have a few notes in the guide, on how I personally manage this blog in the guide.
Alongside the new guide, there are a few more changes in this 0.0.6 release:
- Better formatting for inline-code and code blocks.
- Removed text-decoration from links.
- Improved the initial blog that is created with the
bulba init command, by adding an example about page, and example blog post.
You can find Bulba on GitHub and NPM.
I've just published a new version (0.0.5) of Bulba on GitHub and NPM, so I thought I'd write a post here explaining what it is, the current progress, and where I plan to take it in the future.
What is it?
It's a static site generator, and powers this blog.
Essentially, it takes a collection of .md files, and generates a static site. Featuring an index page, archive, individual posts, etc.
Here is the structure of a blog directory:
.
└── blog/
    ├── content/
    │   ├── about.md
    │   └── posts/
    │       └── example.md
    └── config.yaml
As you can see, there are only three things you need to have to build a blog with Bulba:
- about.md - The content that will appear on the about page
- blog posts - .md files inside the /posts folder
- config.yaml - Contains all the site, author, and Bulba configuration
From this data, Bulba will create a structure that looks like this:
.
└── out/
    ├── assets/
    │   └── css/
    │       └── style.css
    ├── archive.html
    ├── about.html
    ├── feed.json
    └── blog-post.html
Those files are then ready to be hosted on a server somewhere.
Post structure
The only requirement of the blog post files is that they have the extension .md, and also follow this structure:
---
title: Hello, World
slug: hello-world
date: 2021-10-19 22:29:00
excerpt: The first public blog post using Bulba
---

Content
This extra data is used by Bulba when generating the various pages.
What does it do right now?
Okay, so as of version 0.0.5, this is what Bulba will generate for you:
- Paginated index page containing a list of blog posts. The first page being named
index.html, and subsequent pages being named pageX.html.
- Archive page that shows a list of every single blog post. (No content, only excerpts are shown).
- about page, using the content from the
about.md file, and saved at about.html.
- Page for every blog post found, using the slug as a filename, and of course,
html as the extension.
- JSON Feed for use with RSS readers saved at
feed.json.
And here is a rough list of the various customisable options that are available:
- Customise site info - name, description, url.
- Add author info - name, link, twitter.
- Customise how many posts appear on each index page.
- Custom assets path (is only used by css exports at the moment).
- Custom output directory.
- Option to show either the full post content or just the excerpt on index pages.
What do I plan on adding in the future?
In the long-term, I have a few ideas floating in my head, but as for the short term, I've got a few features that I plan on adding:
- Better code formatting, maybe code highlighting (Although I'd let this be an option)
- Add better formatting for elements like blockquotes.
- Support for footnotes.
- Adding a custom page, alongside the about page.
- Look at adding support for adding images to posts.
- Featured image support.
- Favicon.
As for some longer-term ideas, here are a few:
- Custom page templates.
- Custom assets, such as stylesheets, fonts, etc.
- Search.
If you want to checkout Bulba, and try it out for yourself, you can check out the repository on GitHub, and you can also find it on NPM under @chrishannah/bulba.
Also if you have any feedback, have some ideas on where you think I should take this project, feel free to contact me on Mastodon or Twitter.
Hello, everyone.
This is officially the first public blog post generated by my (in progress) static site generator, Bulba.
I aim for this blog to be two things, first a demo of a Bulba blog, but also a place where I can share updates on the development progress of this project, and potentially others.
I will write about the functionality of Bulba in due course, but for now you can read more and check out the code on GitHub.